

 Free US Calls: 1-888-433-4735
 International: 305-545-5588
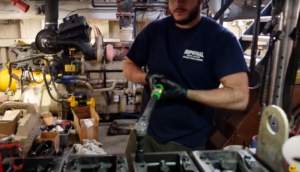
Preparing for Disassembly
Proper preparation is the foundation for a successful Cummins KTA19 engine disassembly. Ensuring you have the correct tools, workspace, and understanding of the process will save time and prevent costly mistakes. Start by selecting a clean, well-lit work area with ample space to organize parts and components systematically.
Parts Catalog for Cummins KTA19 Marine Engine
Required Tools and Safety Equipment
To disassemble and reassemble the KTA19 efficiently, gather the following tools and safety equipment:
- Basic Hand Tools: Wrenches, sockets (metric and standard), screwdrivers, pliers, and hex keys.
- Torque Wrench: For accurate tightening of bolts during reassembly.
- Engine Hoist or Crane: To safely lift heavy components like the cylinder head and crankshaft.
- Pullers and Special Tools: Gear pullers, piston ring compressors, and Cummins-specific timing tools.
- Cleaning Supplies: Parts cleaner, brushes, rags, and compressed air.
- Measuring Tools: Micrometers, dial indicators, feeler gauges, and bore gauges for inspecting component wear.
- Safety Equipment: Safety glasses, gloves, steel-toe boots, and protective clothing.
Precautions Before Starting
- Disconnect the Battery: Prevent accidental electrical shorts or sparks.
- Label and Tag Components: Use labels or color-coded tags to identify hoses, wiring, and bolts.
- Document the Process: Take photos or notes during disassembly for reference during reassembly.
- Secure the Engine: Mount the engine on a stable stand to prevent tipping.
Draining Fluids and Disconnecting Components
1. Draining Engine Fluids:
- Coolant: Open the radiator drain valve and engine block drain plugs to completely drain the coolant.
- Engine Oil: Remove the oil drain plug and allow all oil to drain into a suitable container.
- Fuel: Disconnect the fuel lines and drain any residual fuel from the system.
2. Disconnecting External Components:
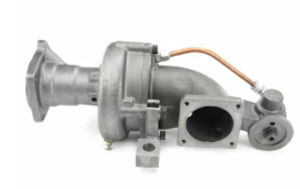
- Air Intake and Exhaust Systems: Remove the air filters, intake manifold, turbocharger, and exhaust manifold.
- Fuel System Components: Detach fuel lines, filters, and injectors carefully.
- Cooling System: Disconnect radiator hoses, water pump, and oil cooler lines.
- Electrical Connections: Unplug all sensors, wiring harnesses, and control modules.
Step-by-Step Disassembly Process
1. Removing the Valve Cover and Rocker Arms

- Remove the valve cover bolts and carefully lift the cover off.
- Loosen the rocker arm assemblies, keeping track of the push rods and valve bridges.
2. Removing the Cylinder Head
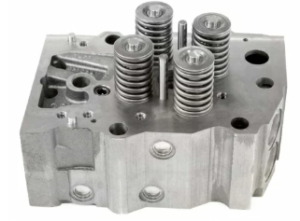
- Loosen the cylinder head bolts in the reverse order of the tightening sequence to prevent warping.
- Use an engine hoist to lift the cylinder head off the block safely.
3. Extracting Pistons and Connecting Rods
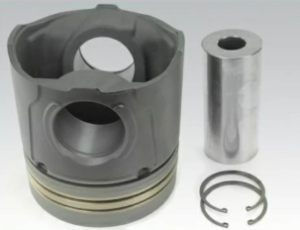
- Rotate the crankshaft to access each connecting rod cap.
- Remove the rod bolts and caps, then gently push the pistons out of the cylinders.
4. Removing the Crankshaft
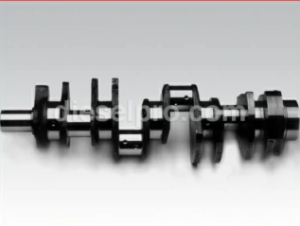
- Remove the main bearing caps in sequence.
- Carefully lift the crankshaft out of the engine block using a hoist.
5. Handling Fuel System Components Safely

- Remove the fuel pump, injectors, and fuel lines.
- Plug or cap all openings to prevent contamination.
Inspecting Major Engine Components for Wear
1. Cylinder Head:
- Check for cracks, warping, and erosion around the valves and combustion chambers.
- Inspect valve seats, guides, and springs.
2. Pistons and Rings:
- Look for scoring, cracks, or signs of overheating.
- Measure ring end gaps and piston-to-cylinder clearance.
3. Crankshaft and Bearings:
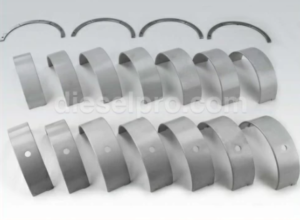
- Inspect journals for scoring or discoloration.
- Measure bearing clearances using plastigage.
4. Engine Block:
- Check for cracks, cylinder wear, and flatness of deck surfaces.
- Measure liner protrusion if applicable.
Reassembly Techniques
1. Cleaning and Preparation:
- Clean all parts thoroughly to remove debris and old gasket material.
- Lubricate bearings, pistons, and other moving parts with assembly lube.
2. Installing the Crankshaft:
- Place the crankshaft carefully into position with new bearings.
- Torque the main bearing caps to specification.
3. Installing Pistons and Connecting Rods:
- Compress piston rings using a ring compressor.
- Insert pistons into the cylinders and torque the rod caps.
4. Installing the Cylinder Head:
- Place a new head gasket on the engine block.
- Lower the cylinder head carefully and torque the bolts in the correct sequence.
Proper Torque Specs and Bolt Tightening Sequences
Always refer to the Cummins KTA19 service manual for specific torque values and bolt sequences. General guidelines include:
- Cylinder Head Bolts: Torque in multiple stages, starting from the center and working outward.
- Main Bearing Caps: Use the specified torque and angle-tightening method.
- Connecting Rod Bolts: Follow the recommended stretch method or torque-to-yield specifications.
Torque Specs for Cummins KTA19
Aligning Timing Marks Correctly
1. Setting the Crankshaft Timing:
- Align the crankshaft timing mark with the reference mark on the block.
2. Camshaft and Gear Alignment:
- Ensure the camshaft timing mark aligns with the crankshaft mark.
- Verify all idler and accessory gear marks are properly aligned.
Proper timing ensures optimal engine performance, fuel efficiency, and longevity.
Tips for Ensuring Optimal Performance After Rebuild
- Double-check torque values on all fasteners.
- Prime the oil system before starting the engine to prevent dry starts.
- Bleed the fuel system to remove air pockets.
- Perform an initial start-up check for leaks, unusual noises, and proper oil pressure.
- Conduct a break-in procedure, running the engine under varying loads for the first 50 hours.
Disclaimer
Always follow proper torque specifications and assembly procedures from the Cummins KTA19 service manual to ensure accuracy, safety, and engine longevity. Failure to adhere to manufacturer guidelines can result in engine damage or personal injury.
Parts Catalog for Cummins KTA19 Marine Engine