

 Free US Calls: 1-888-433-4735
 International: 305-545-5588


Cummins 6BT Engine Parts for Australia - Gasket Section
 Loading...
 -
-
-
-
 4
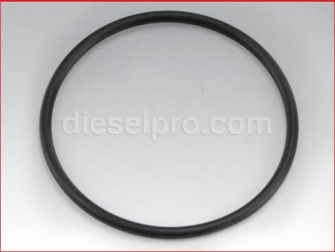
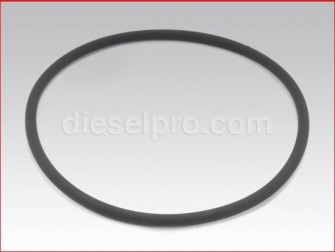
4Cummins Marine Water Pump O-ring
145545
Seal for Inlet and Outlet ports
2 per engine
Price: $ 5.00 -
-
-
-
-
 9
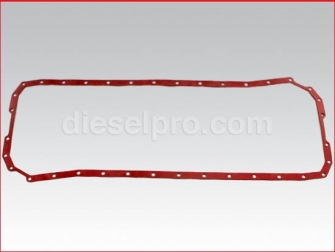
9Cummins Oil Pan Gasket for 6B, 6BT & 6BTA Engines
4337597
Segmented Gasket. Included Oil pick up tube gasket.Price: $ 78.63 -
-
-
-
-
-
-
-
-
-
-
-
 21
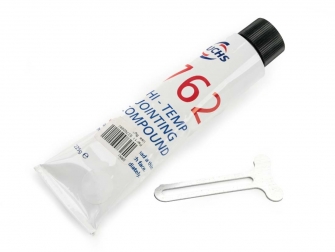
21762 Hi-Temperature jointing compound for Detroit Diesel and Cummins turbos
762
225 gm tube - Temp range 550C to 760CPrice: $ 190.14 -
-
-
-
 25
25Cummins Heat Exchanger O Ring Gasket seal
3975186
2 per engine
For 4B, 4BT, 4BTA, 6B, 6BT and 6BTA engines.
Price: $ 7.35 -
 26
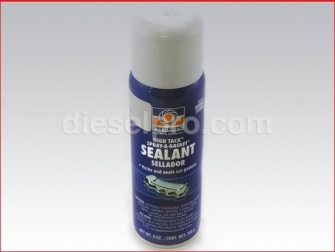
26Gasket Spray -High Tack Sealant (Hold & Seals Cut Gaskets)
99MA
For Detroit Diesel & Cummins engines. Available for ground shipping only in USA and CanadaPrice: $ 25.67 -
 27
273H Gasket Maker
3H
For Detroit Diesel & Cummins engines. Available for ground shipping only in USA and CanadaPrice: $ 17.46 -
-
-
-
-
 32
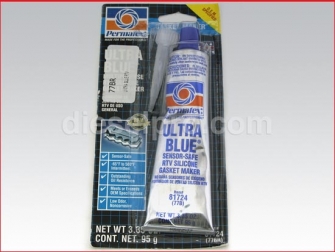
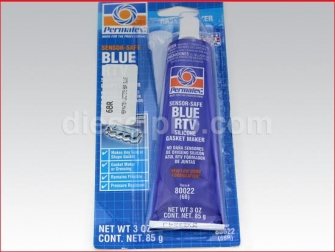
32Gasket Maker - Ultra Blue RTV Silicone Sensor Safe
77BR
For Detroit Diesel & Cummins enginesPrice: $ 12.16 -
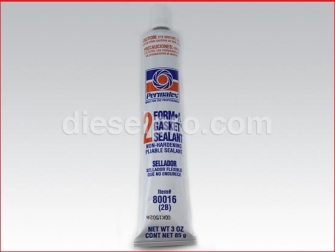 33
33Gasket Maker - Non-Hardening Pliable Sealant
2BR
For Detroit Diesel & Cummins enginesPrice: $ 7.69


Cummins 6BT Engine Parts – Gasket & Seal Catalog
The Cummins 6BT is a proven, durable diesel engine used in marine vessels, industrial equipment, generators, and off-road machinery. Keeping it sealed properly is essential for peak performance and longevity. Every joint, port, and mating surface on the engine relies on a network of gaskets, O-rings, and seals to keep oil, coolant, exhaust gases, fuel, and air where they belong.
This catalog brings together all Cummins 6BT gasket and sealing components in one place—whether you’re replacing a single leaking gasket or refreshing your entire engine with upper and lower gasket sets. Each description explains what the part does, where it’s located, and what to watch for during service.
Complete Gasket Sets
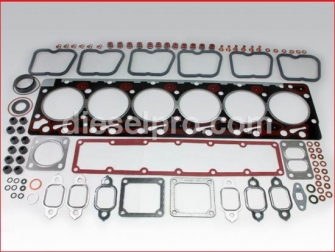
Upper Gasket Set – Standard
The upper gasket set includes every major seal needed for servicing the top end of your 6BT engine—cylinder head gasket, intake manifold gaskets, exhaust manifold gaskets, valve cover gaskets, and coolant and oil passage O-rings. It’s the go-to solution for a top-end rebuild or head gasket replacement. Designed for engines with factory-standard deck and head surfaces.
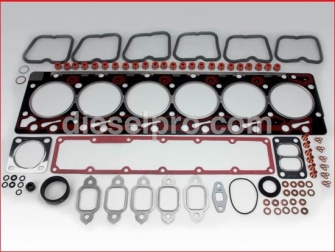
Upper Gasket Set – Oversize 0.25 mm
For 6BT engines that have had the block decked or the cylinder head resurfaced, this oversized set restores correct compression height and combustion chamber volume. Using an incorrect gasket thickness can cause piston-to-valve contact or low compression—this set prevents both.
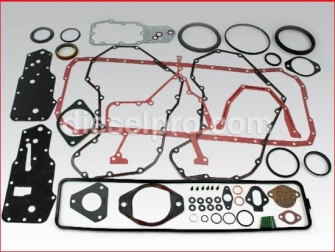
Lower Gasket Set – Front Gear Train Models
Includes the oil pan gasket, crankshaft seals, water pump gaskets, and other lower-end seals for front gear train 6BT engines. Perfect for bottom-end rebuilds or major oil leak repairs.
Individual Gaskets & Seals
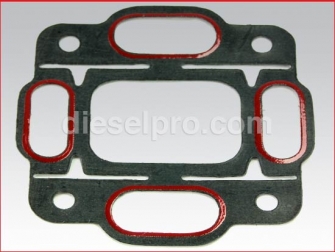
Exhaust Manifold Gasket
A multi-layer steel or graphite composite gasket that seals the manifold to the cylinder head. Withstands extreme heat and pressure from combustion gases.
-
Failure signs: Soot deposits, ticking noise under load, loss of turbo boost.
-
Tip: Retorque after the first few heat cycles to prevent warping.
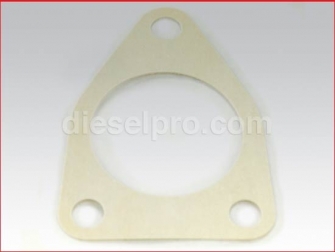
Exhaust Manifold Outlet Connection Gasket
Seals the joint between the exhaust manifold outlet and the turbocharger or exhaust elbow.
-
Failure signs: Exhaust odor in engine bay, soot streaks, turbo lag.
Intake Manifold Gasket
Composite gasket with molded sealing beads that prevents unmetered air leaks.
-
Failure signs: Rough idle, low power, hissing under boost.
-
Tip: Do not use extra sealant—excess can break loose and damage the turbo.
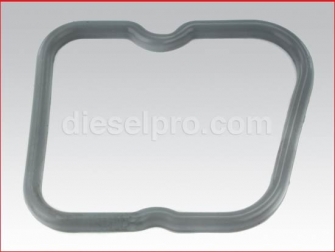
Valve Cover Gasket
Molded rubber gasket that seals the top of the cylinder head, keeping oil inside.
-
Failure signs: Oil weeping down the side of the block.
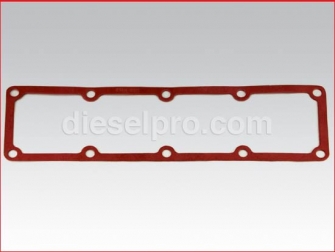
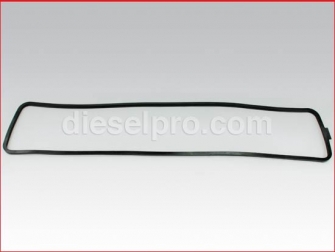
Push Rod Cover Gasket
Cork/rubber composite gasket sealing the side push rod cover.
-
Failure signs: Oil streaks or drips along the side of the engine.
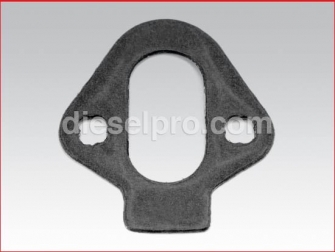
Fuel Transfer Pump Gasket
Two fuel-resistant gaskets used per pump to seal against diesel leaks and air intrusion.
-
Failure signs: Diesel smell, wetness around pump base.
Fuel Injection Pump Gasket
Seals the injection pump housing to the timing gear cover.
-
Failure signs: Fuel staining, air in fuel system, hard starts.
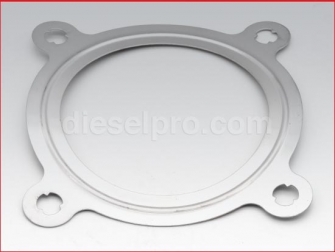
Turbo Mounting Gasket – Water-Cooled Turbos
Multi-layer metal gasket with coolant sealing rings.
-
Failure signs: Coolant seepage at turbo base, loss of boost.
-
Tip: Align coolant passages perfectly during installation.
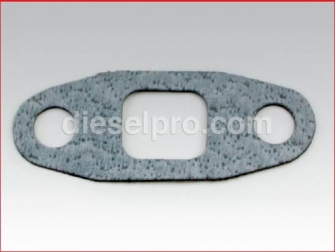
Turbo Oil Drain Gasket
Oil-resistant gasket for the turbocharger’s return line.
-
Failure signs: Oil drips under turbo, oil smell when hot.
Oil Pan Gasket
Composite or formed rubber gasket sealing the crankcase sump.
-
Failure signs: Drips on the underside of the engine.
Oil Pick-Up Tube Gasket
Seals the pick-up tube to the oil pump to prevent air entry.
-
Failure signs: Low oil pressure on startup.
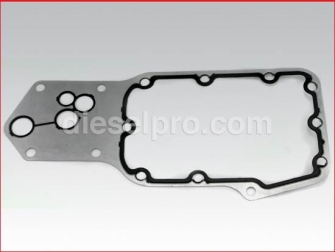
Oil Cooler Core Gasket
Seals coolant and oil passages in the cooler core housing.
-
Failure signs: Oil in coolant, coolant in oil, overheating.
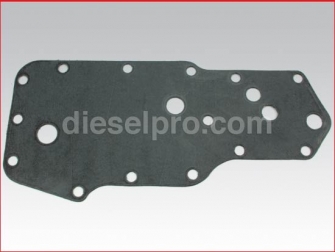
Filter Head Gasket
Seals the oil filter head to the block.
-
Failure signs: Oil seepage near filter mount.
Marine Raw Water Pump Mounting Gasket
For marine configurations, this gasket seals the pump housing to prevent seawater leaks.
-
Failure signs: Salt deposits, dripping water near pump.
Marine Raw Water Pump O-Ring
Two nitrile O-rings per engine seal inlet and outlet ports.
-
Failure signs: Air in cooling system, visible leaks.
Thermostat Seal
Rubber seal around the thermostat element.
-
Failure signs: Coolant seepage, overheating.
Thermostat Housing Gasket
Paper or composite gasket sealing the housing to the head.
-
Failure signs: Coolant drips at thermostat flange.
Heat Exchanger O-Ring Seal
Marine-grade EPDM O-rings for end caps.
-
Failure signs: Coolant leaks, salt deposits.
Water Pump Seal Ring
Internal seal inside the fresh water pump.
-
Failure signs: Coolant weeping from pump housing.
Sealants, Gasket Makers & Threadlockers
In addition to pre-cut gaskets, Cummins 6BT service often uses specialized sealants:
-
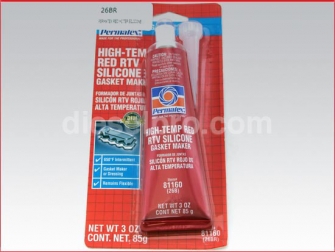
Hi-Temperature Jointing Compound – Rated to 760°C for turbo and exhaust flange joints.
-
Gasket Spray – High Tack – Holds gaskets in place during assembly, preventing movement under torque.
-
Liquid Gasket Maker (3H) – Flexible seal for oil and coolant passages.
-
RTV Silicone Sealants – Available in high-temp, ultra-blue, and sensor-safe formulas for different applications.
-
Non-Hardening Pliable Sealant – Ideal for joints that may require disassembly without damage.
-
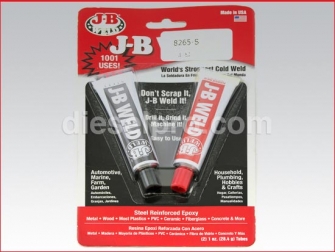
J-B Weld Cold Weld – Metal-reinforced epoxy for emergency repairs.
-
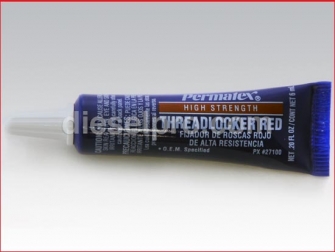
High-Strength Threadlocker, Red – Secures fasteners in high-vibration areas.
Maintenance & Replacement Guidelines
-
Every year: Inspect valve cover, oil pan, and water pump gaskets.
-
During top-end service: Replace upper gasket set.
-
During bottom-end rebuild: Replace lower gasket set.
-
After overheating: Replace head gasket and inspect head for warping.
Installation Best Practices
-
Clean Surfaces: Remove all old gasket material and residue.
-
Check Flatness: Use a straight edge to verify sealing surfaces are true.
-
Follow Torque Specs: Always tighten in the correct sequence.
-
Use Sealant Only as Specified: Over-application can cause blockages.
-
Retorque as Needed: Some joints require rechecking after heat cycles.


