

 Free US Calls: 1-888-433-4735
 International: 305-545-5588


Parts for Detroit Diesel 12V71 Non-Turbo for Australia - Gasket Section
 Loading...
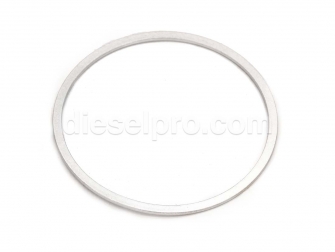


Parts for Detroit Diesel 12V71 Non-Turbo — Gasket Section
This is your complete, plain-language guide to sealing components for the Detroit Diesel 12V71 non-turbo engine. Every explanation below is written specifically for the naturally aspirated 12V71 two-stroke V-12—twelve cylinders arranged in two banks of six, unit injectors, Roots-type blower, and wet-liner cooling with water manifold (“water rail”) distribution. You’ll find what each gasket or seal actually does on this engine, the symptoms of failure, installation tips that matter on a 12V71, and smart maintenance practices that extend service life. Where an item can also fit other 53/71/92-series engines, we still keep the focus on how it’s used on a 12V71 non-turbo.
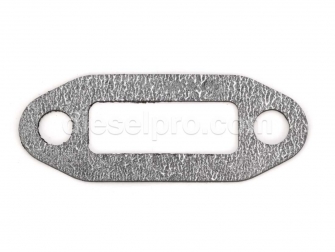
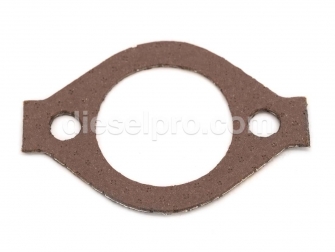
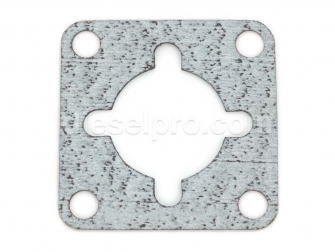
Block Plug Gasket
What it does on a 12V71
Seals the threaded block plugs used in coolant passages and select service ports. A sound seal prevents weeping, crusted residue on the block rail, and gradual coolant loss that can be misdiagnosed as a liner or casting issue.
Failure clues
-
Coolant tracks or white/green deposits at the plug perimeter
-
Sweet coolant smell after shutdown
-
Persistent but hard-to-find coolant loss
Installation tips
-
Clean the seat thoroughly; avoid scratching the sealing land.
-
Apply only the sealant type recommended for the joint (many are installed with a thin film or dry, per procedure).
-
Torque evenly; over-torque can distort the gasket and create a leak path.
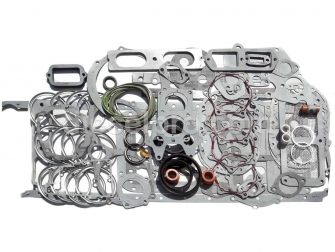
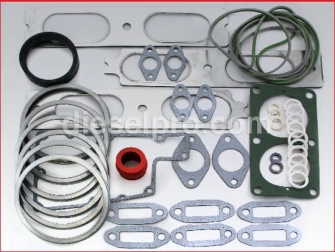
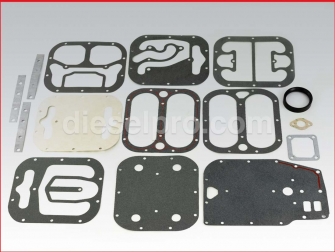
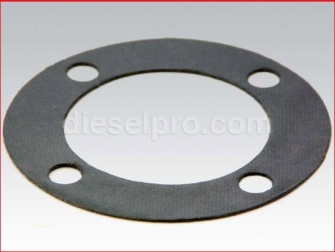
Engine Overhaul Gasket Kit (12V71)
Why a full kit is essential on a V-12
A 12V71 overhaul spans two cylinder heads, airbox doors, blower base and striker plate, water manifold rails, crankshaft seals, governor covers, oil pan, rear and front end plates, and numerous accessory interfaces. A complete kit brings the right materials and thicknesses together so you’re not mixing incompatible papers, cork-rubber profiles, or O-ring compounds.
Typical contents (12V71-focused)
-
Upper engine: head set components, rocker cover gaskets (aluminum cover style), blower base and striker plate gaskets, airbox/inspection cover gaskets, thermostat and water manifold gaskets.
-
Lower engine: oil pan gaskets (small and large patterns), oil pump inlet and pickup tube gaskets, rear end-plate gasket, flywheel housing gasket.
-
Ancillary: governor top/spring cover gaskets, pump and accessory gaskets, flange gaskets, and critical O-rings.
Best practices
-
Stage the kit by bank (Left/Right) and by system (air, oil, coolant).
-
Dry-fit every profile gasket to confirm hole alignment; never “pull” a misaligned gasket into place with bolts.
-
Observe Detroit Diesel guidance on sealants: high-tack for thin paper facings, non-hardening for joints that may need future service, and RTV only where specified.
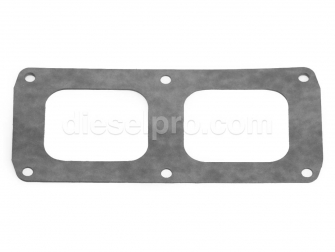
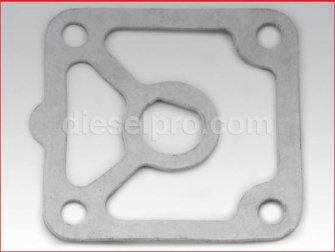
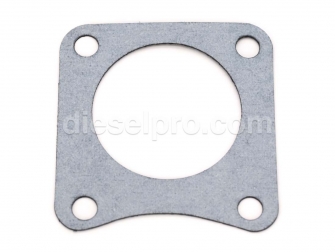
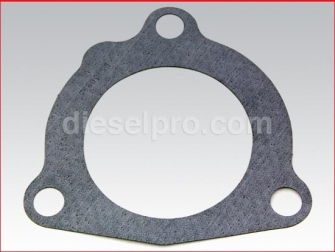
Inspection Block (Airbox Door) Gaskets
Function on the 12V71
These seal the airbox/inspection covers along each bank. Because the two-stroke relies on scavenging air pressure, any leak here reduces airbox pressure, allows oil mist escape, and can contaminate the engine room.
Signs of failure
-
Oily film or carbon staining at the cover perimeter
-
Slight hiss/whistle under load near the airbox doors
-
Stronger fuel-oil odor after shutdown
Service notes
-
Remove old material completely; the landing surface must be flat and clean.
-
Tighten fasteners in a criss-cross pattern to compress evenly.
-
Re-torque after initial heat cycle if the material specification calls for it.
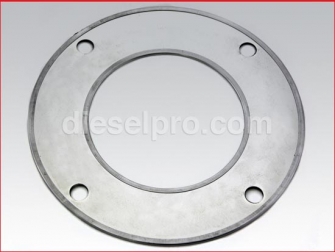
Inspection Cover Gaskets (New-Style Cover Pattern)
What changes with the newer cover pattern
Later-style covers use improved geometry and materials for a steadier clamp load. On the 12V71, that translates to better airbox sealing during long continuous-duty runs.
Installation detail
-
Confirm you’re matching gasket style to cover style.
-
Light film of high-tack (if specified), especially at corners, helps prevent wicking.
-
Verify cover flatness with a straightedge; gently dress high spots as needed.
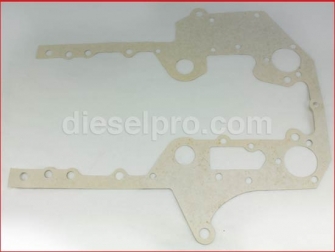
Front End Plate Gasket
Role on a 12V71
Sits between the block and the front end plate. It contains pressurized oil passages and coolant galleries while keeping the timing gear cavity sealed from external leaks.
Symptoms & risks
-
Oil “weep” at the front plate seam
-
Coolant seepage that tracks down behind pulleys
-
Cross-contamination if the breach is near a gallery interface
Tips
-
Surface prep is everything: remove corrosion and old sealant completely.
-
Use the specified gasket thickness to maintain gear train alignment.
-
Torque in sequence; recheck after warm-up.
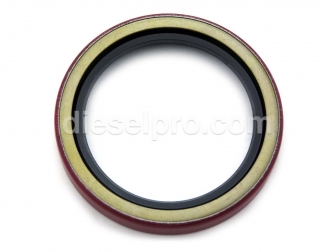
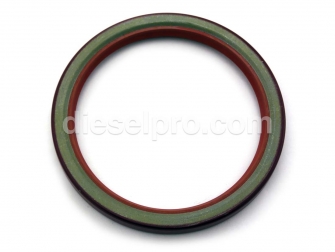
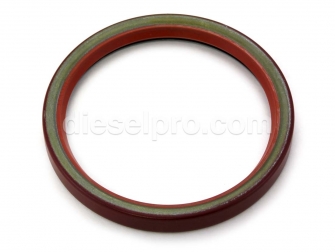
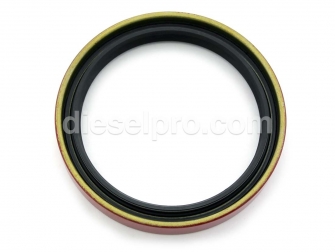
Front Crankshaft Seal — Standard, Universal Rotation
How it lives on a 12V71
The front main seal sits behind the vibration damper/hub. Even in natural aspiration, the 12V71’s torsional pulses are significant, so a fresh, properly installed seal is vital to keep the front of the engine dry and clean.
Failure indicators
-
Oil sling on the damper and belts
-
Dampness at the bottom of the front cover after a run
-
Drips that worsen with sustained RPM
Installation tips
-
Inspect the hub’s seal surface for grooves; repair with a sleeve if needed.
-
Lubricate the lip and run-in surface; install square to avoid lip twist.
-
Confirm crankcase breather function to avoid pressure that can push oil past the lip.
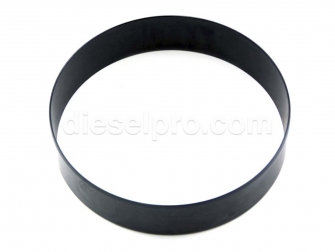
Crankshaft Seals — Rear, Single-Lip & Oversize; Rear Double-Lip (Standard & Oversize); Seal Sleeve
Choosing the right rear seal for a 12V71
Rear main sealing must cope with flywheel inertia, clutch or coupling side-loads, and hot oil return near the rear bearing saddle. Single-lip designs are serviceable on tight, smooth journals. Double-lip designs add a dust or oil-shed lip for extra security on engines that see harsher service or where the run-in surface is less than perfect. Oversize options pair with a sleeve to restore sealing when the journal is grooved.
When to go oversize + sleeve
-
Visible groove or polished track on the hub/journal that a standard seal cannot bridge
-
Recurrent leaks shortly after a standard seal replacement
-
Evidence of eccentric wear from prior misalignment
Installation checklist
-
Measure the journal; verify the oversize/sleeve combination.
-
Press sleeves using the recommended driver; never hammer on the sealing land.
-
Lightly oil the lips; install to the specified depth to align with the new running surface.
-
After installation, monitor for seepage during the first hours of operation; early detection saves flywheel cleanup later.
Cylinder Head Gasket Kit (12V71) — Two Required Per Engine
Why two kits
The 12V71 uses two cylinder heads (one per bank), so order one head set per bank. Each kit typically includes head-to-block sealing components, intake/exhaust interface gaskets for that bank, injector tube seals where applicable, and rocker cover seals if specified.
12V71-specific pointers
-
Clean liner fire deck faces meticulously; pitting or carbon ridges will compromise seal.
-
Verify liner height protrusion is within spec and even across cylinders.
-
Follow the head bolt torque sequence by bank, in stages, with final angle or torque as specified.
-
Re-check torque after initial warm-up if the procedure calls for it.
Rocker Cover Gasket Kit (Aluminum Cover Style)
Purpose on the 12V71
Seals the rocker covers to the head, keeping oil inside the overhead while accommodating frequent access for injector and rack adjustments.
Good practices
-
Degrease both the cover and head rails; any oil film reduces gasket grip.
-
Inspect cover flanges for distortion from prior over-tightening and correct as needed.
-
Tighten evenly; avoid bending the flange.
Water Manifold (Water Rail) Gasket
Why it matters on a 12V71
The water rail distributes coolant along the bank. Any leak here aerates the coolant, encourages corrosion, and can starve the far cylinders of flow.
Telltales
-
Dried coolant tracks at the rail joints
-
Hotter cylinder temperatures at the end of the bank (thermography or IR checks)
-
Rising make-up water use without visible hose leaks
Install detail
-
Dress the manifold and head face lightly; they must be flat.
-
Replace compromised fasteners; uneven clamp load causes weeps.
-
Bring fasteners to torque in a staged sequence along the rail.
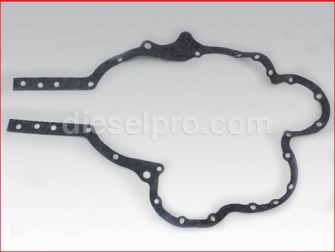
Flywheel Housing Gasket & Rear End Plate Gasket
Job on the 12V71
These form the primary barrier between the crankcase and the bellhousing area. Even a small leak here flings oil inside the housing and contaminates the coupling or clutch.
What to watch
-
Oil emerging at the bottom housing drain or inspection hole
-
Fresh oil film after running at load
-
Drips that appear only after hot soak (thermal expansion opening a gap)
Fitting tips
-
Dry-fit the gasket to confirm hole alignment; trim nothing.
-
Use the recommended sealant type sparingly at the joint corners.
-
Align dowels carefully; misalignment leads to uneven squeeze and leaks.
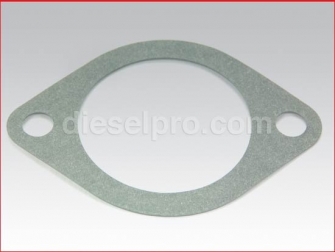
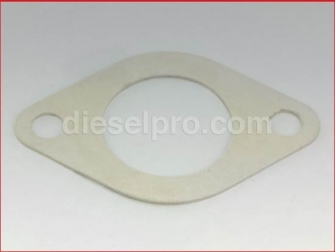
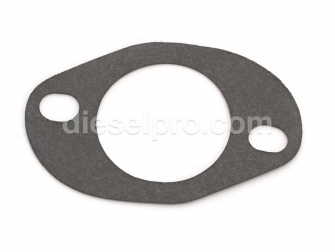
Fuel/Water Pump Gaskets
Where they live
These thin paper or composite gaskets seal the flange faces of engine-mounted fuel or water pumps.
Failure cues
-
Coolant or diesel sheen at the pump base
-
Occasional air intrusion on the fuel side, causing minor idle flare or stumble
-
Seepage lines that reappear after wipe-down
Tips
-
Clean mating faces to bare metal; any old paper will “cold flow” and leak.
-
Check flange flatness; warping requires corrective action.
-
Torque to spec—small fasteners are easy to over-tighten.
Allison Marine Gear Flywheel-to-Transmission Gasket (SAE No. 2)
Why it appears in a 12V71 gasket section
Many 12V71 marine installations couple to Allison marine gears using an SAE No. 2 interface. The flywheel housing-to-transmission gasket helps keep the bellhousing dry and free of oil mist that can degrade mounts and couplings.
Install reminders
-
Verify SAE size matches both housing and gear.
-
Clean, flat faces are critical; bring bolts up evenly in a criss-cross pattern.
-
Do not substitute RTV for a proper interface gasket.
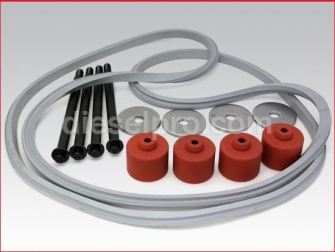
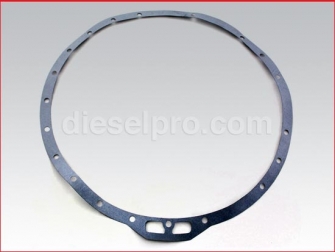
Blower Installation Gasket Kit (Covers Two Blowers)
Critical on a two-stroke Detroit
The blower base, striker plate, and related gaskets are fundamental to maintaining scavenging pressure and preventing crankcase oil from being drawn into the air stream.
Symptoms of trouble
-
Black, oily residue around blower base
-
Hiss at the striker plate under load
-
Elevated oil consumption with visible airbox oiling
Best practices
-
Clean both the block deck area and blower base meticulously.
-
Use the specified gasket stack and thickness—scavenging performance depends on it.
-
Verify end-clearance and rotate by hand after installation.
Air Inlet Housing Gasket
Job on the 12V71
Seals the air inlet housing to the blower/inlet path so the engine breathes clean, metered air without leaks that can bypass the filter or reduce airbox pressure.
Install
-
Ensure the housing is free from warping and cracks.
-
Fit dry or per spec with a light high-tack; avoid excess that can migrate.
-
Tighten evenly to avoid “smiles” at the long edges.
Governor Spring Cover & Governor Top Cover Gaskets
Why they matter
Governor covers must remain oil-tight and protected from air leaks. Even minor leaks contribute to grime build-up and can allow moisture ingress.
Tell-tales
-
Weeping at the cover perimeter
-
Sticky dust accumulation that returns after cleaning
-
In severe cases, erratic governor response due to contamination
Tips
-
Replace washers if they’re part of the seal system.
-
Do not overtighten small screws—warped covers leak.
-
Keep the breather clean so crankcase pressure remains in spec.
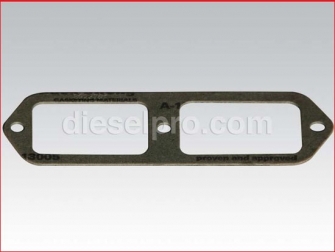
Head-to-Manifold Gaskets (Exhaust Side)
12V71 specifics
These live a hard life. Thermal cycling and manifold expansion challenge clamp load. A good seal preserves exhaust scavenging and prevents hot gas erosion at the port edges.
Symptoms of failure
-
Ticking noise on cold start that softens as the manifold expands
-
Soot trails at the port edge
-
Mild power loss due to reduced scavenging efficiency
Fitment
-
Verify manifold flatness; a straightedge and feeler gauge are your friends.
-
Use the correct torque sequence and re-torque after a heat cycle if specified.
-
Replace any stud or nut that’s corroded or stretched.
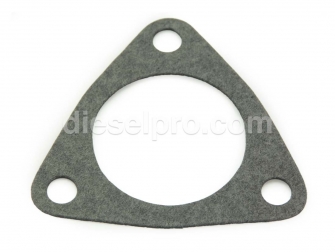
Marine Exhaust Manifold Flange Gasket & Flange Spacer Gasket
Where you’ll use them
At the outlet of the marine manifold and any spacer that adapts flange geometry downstream.
Why it matters
Leaks at these joints send hot exhaust and salt-laden moisture into the engine space—bad news for wiring, paint, and nearby components.
Good practice
-
Clean flange faces to bright metal, remove old RTV or carbon.
-
Align the gasket fully; never “pinch” the edge during tightening.
-
Recheck after the first sea trial or load test.
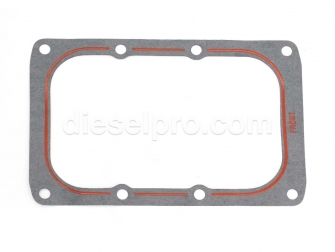
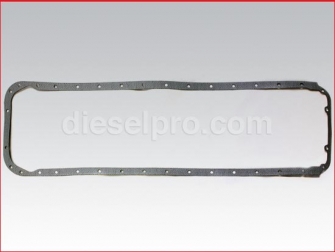
Oil Pan Gaskets (Small & Large Patterns)
12V71 nuance
Two oil pan gasket patterns are commonly encountered. Matching the correct pattern is critical to avoid bolt-hole misalignment and overhangs that wick oil.
Leak clues
-
Oil line along the block-pan rail
-
Drip at the rear corners after a run
-
Excess sealant “worms” visible around the seam (often a sign the wrong gasket was forced to fit)
Pro tips
-
Dry-fit the pan before applying any sealant.
-
True the pan rail; years of over-tightening bend the bolt lands.
-
Tighten incrementally around the perimeter—never “zip” one corner tight.
Oil Pump Inlet, Inlet Pipe, and Oil Pickup Tube Gaskets
Role on a 12V71
These thin gaskets and seals prevent air ingestion on the suction side of the lube system and keep the lower end tidy.
If they fail
-
Aeration (foam) in oil
-
Brief low oil pressure on cold starts
-
Wet seams and drips that collect on crossmembers or the pan
Fitment
-
Surfaces must be perfectly clean; even small fibers can cause a leak.
-
Replace any distorted clamps or fasteners.
-
Do not over-use sealant; extruded sealant can break off and travel.
Hydraulic Governor-to-Drive Gasket & Hydraulic Governor Cover Gasket
Purpose
Seal between the governor and its drive, and at the governor cover. Oil integrity here keeps control action precise and the housing clean.
Watch for
-
Oil film at the interface line
-
Gradual grime build-up that returns after cleaning
-
In rare cases, slight drift in governed speed if contamination enters
Oil Filter Adaptor Gasket
Why it’s important
Prevents oil leakage at the filter adaptor interface and protects against suction-side air leaks (depending on configuration).
Signs of issues
-
Oil ring around the adaptor base
-
Drips only when hot (thermal expansion opening paths)
-
Stubborn film that reappears after wipe-down
Double Oil Cooler Installation Kit — Gaskets & Seals
Where the 12V71 benefits
Many marine 12V71s run dual coolers. Proper installation gaskets maintain oil-to-water integrity, prevent cross-contamination, and preserve flow.
Checklist
-
Pressure-test both coolers and the stack after assembly.
-
Replace crush washers and O-rings as a set.
-
Follow torque specs in sequence to avoid twisting the stack.
Raw (Sea) Water Pump Mounting & Plate Gaskets; Inlet/Outlet Gaskets
Marine 12V71 essentials
Raw water pumps feed the heat exchanger. Their mounting, back plate, and inlet/outlet gaskets must hold up against vibration and saltwater exposure.
Symptoms
-
Salt crystals at joints
-
Dampness appearing after cool-down
-
Overheating at load due to air ingestion or reduced flow
Fitting
-
Use marine-safe anti-seize on fasteners exposed to salt air.
-
Replace the paper gaskets any time the pump is serviced.
-
Verify hose seating and clamp orientation to prevent creep.
Heat Exchanger Outlet Gasket & Block Water Outlet Gasket (Block Heater Location)
Cooling integrity on a 12V71
These gaskets prevent external coolant leaks at the exchanger outlet and around the block outlet where a heater may be fitted.
Watch for
-
Streaks of dried coolant below the joint
-
Temperature fluctuations at cruise
-
Air pockets after service if the joint admits air
Tips
-
Bleed air properly after re-assembly.
-
Re-torque clamps/bolts after one heat cycle.
-
Use only the sealant type recommended for contact with coolant.
Starter Gasket
Why you want it sealed
Keeps debris and oil mist out of the starter interface and helps reduce the grime that accelerates electrical failures in the engine space.
Install
-
Clean the flange faces; check for burrs.
-
Ensure wiring is strain-relieved and clear of the gasket line.
-
Tighten evenly to avoid distorting the nose housing.
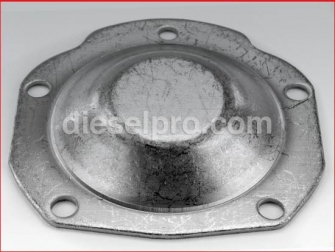
Flywheel Housing Cover — Large Cover
Purpose
Seals the large inspection/opening on the flywheel housing so the bellhousing area remains clean and dry.
Indicators of trouble
-
Oil film near the cover seam
-
Drips at the bottom of the bellhousing after shutdown
-
Vibration loosening fasteners if the cover is not seated flat
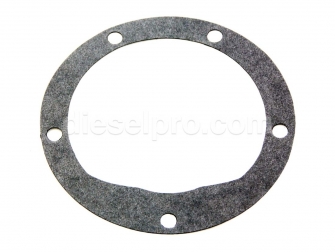
Flywheel-to-Salt Water Pump Gasket (Where Equipped)
Marine adaptation
Some installations drive a seawater pump from the flywheel housing. The gasket at this junction prevents saline ingress and oil egress.
Best practice
-
Prep both faces; salt deposits must be removed completely.
-
Use correct fastener torque; over-tightening warps the cover and leaks return.
-
Re-inspect after the first sea trial.
General-Purpose Series Gasket (Utility Applications)
Use cases on a 12V71
Handy for service points where a generic pattern is approved. Always verify the profile against your joint; do not force a “close enough” fit on a 12V71 sealing surface.
Marine Exhaust Manifold Flange Gasket — Spacer Variant
When the spacer is present
Spacer gaskets accommodate setups that shift the outlet geometry. Correct thickness maintains the exhaust alignment and prevents hot gas impingement on adjacent hardware.
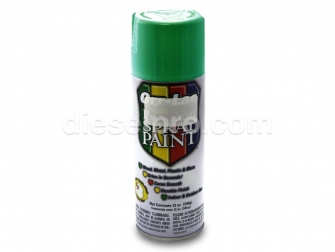
Paint — Detroit Green (Engine Enamel)
Why it’s listed in a gasket section
After sealing work, fresh enamel over cleaned, degreased seams helps reveal future leaks quickly: any new oil or coolant stands out against clean paint.
Tips
-
Only apply to cool, clean metal.
-
Mask gasket edges if paint creep is a concern during curing.
-
Use engine-rated enamel for heat and chemical resistance.
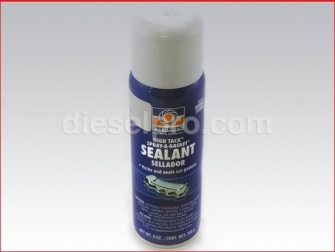
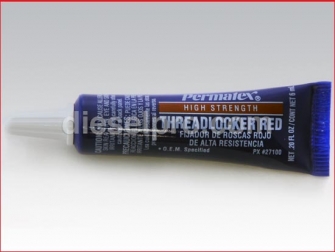
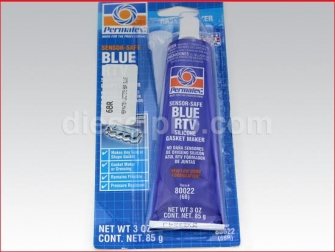
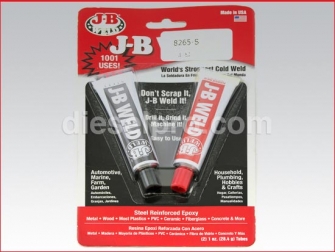
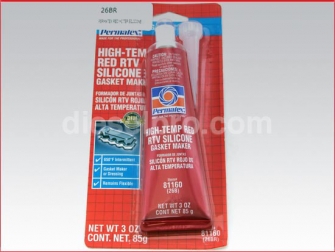
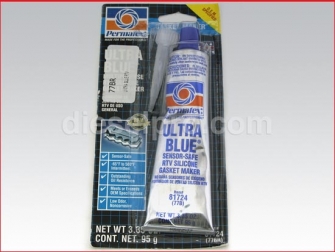
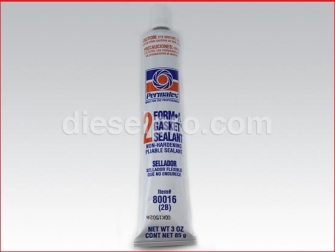
Gasket & Sealant Aids (High-Tack, Non-Hardening, Sensor-Safe RTV, High-Temp RTV, Threadlocker, Epoxy Repair)
Where each type makes sense on a 12V71
-
High-Tack Spray/Brush-On: Helps retain thin paper gaskets during assembly (e.g., water manifold, small pump flanges).
-
Non-Hardening Pliable Sealant: Ideal for joints that may be re-opened (covers, inspection plates) and where differential expansion is expected.
-
Sensor-Safe RTV (Blue/Ultra Blue): For select cover joints where OEM permits RTV and near electrical equipment—won’t harm sensors.
-
High-Temp RTV: Exhaust-side adjunct where specified; don’t substitute for a proper exhaust gasket.
-
Threadlocker (High Strength Red): For studs/bolts subject to vibration; use sparingly and only where heat removal for service is acceptable.
-
Epoxy “Cold Weld”: Emergency cosmetic or non-structural surface repairs; never a substitute for proper welding or casting replacement in pressure areas.
Golden rules
-
Use the least amount of sealant necessary. Excess squeeze-out can obstruct passages.
-
Never replace a gasket with “just RTV” unless the OEM procedure explicitly allows it.
-
Clean, flat, dry surfaces are the real secret to leak-free 12V71 assemblies.
Why Buy Gaskets & Seals for the 12V71 Non-Turbo from Diesel Pro Power
Engine-Specific Fitment Guidance
Every item on this page is explained in the context of the 12V71 non-turbo. That specificity reduces guesswork and helps you get the right part the first time—whether you’re resealing a water rail, installing a blower base, or rebuilding both banks with full head sets.
Quality You Can Install with Confidence
Material matters. From cork-rubber blends that resist hardening to papers that hold clamp load under heat cycles, the gaskets and seals offered here are chosen to meet or exceed OEM performance. The goal is simple: seal it once and run clean.
Complete Solutions for Real-World Repairs
You’ll find single gaskets for quick fixes, dedicated kits for common subassemblies (blower base, governor covers), and comprehensive overhaul kits that streamline a full top-and-bottom reseal. Fewer missing pieces means fewer delays mid-job.
Marine-Ready Know-How
Most 12V71 non-turbos still at work today are in marine service. We highlight salt-water realities—raw water pump joints, heat exchanger outlets, marine manifold flanges—and emphasize fasteners, coatings, and sealants that live well in that environment.
Practical Support from a Team That Knows Detroits
If you need help matching rocker cover styles, choosing between single- and double-lip rear seals, picking the correct oil pan gasket pattern, or staging an overhaul kit by bank, you’re covered. Guidance is tailored to how these engines are actually serviced.
Fast Fulfillment & Stock You Can Count On
Minimize downtime with ready-to-ship gaskets, kits, and sealant accessories. Keeping the frequently needed 12V71 items in stock helps you plan a same-week reseal instead of waiting out long lead times.
Trusted by Operators Worldwide
With a large base of satisfied customers across commercial, workboat, and industrial applications, the focus is on reliable supply and parts that install cleanly and seal right—so your 12V71 stays dry, cool, and ready for work.
Installation & Inspection Checklist for a Leak-Free 12V71 (Quick Reference)
-
Surfaces: Scrape and dress to clean, flat metal; remove all old material and corrosion.
-
Dry-Fit: Test every gasket for hole alignment and profile fit—especially oil pan and water rail patterns.
-
Sealant: Use only what the joint calls for (high-tack, non-hardening, RTV, or none).
-
Torque: Follow sequence and spec; re-check after the first heat cycle where recommended.
-
Breathing: Confirm crankcase breather function; excess pressure defeats new seals.
-
Cooling: Bleed air from coolant after water rail or exchanger service.
-
Verification: After the first run, inspect all seams with a bright light and a clean rag; a quick wipe test reveals fresh leaks early.
Troubleshooting Guide by Symptom (12V71 Non-Turbo)
-
Oil Mist at the Front of Engine: Check front crank seal and front plate gasket; inspect damper hub surface.
-
Bellhousing Drips: Inspect rear main seal area, flywheel housing and cover gaskets, and the interface to marine gear.
-
Coolant Smell, No Hoses Wet: Look at block plug gaskets, water manifold rail joints, heat exchanger outlet gasket, and block water outlet.
-
Exhaust “Tick” on Cold Start: Verify head-to-manifold gaskets and manifold flatness; re-torque as specified.
-
Oily Airbox Doors: Replace inspection/airbox door gaskets; review blower base and striker plate sealing.
-
Low Oil Pressure on Cold Start That Recovers: Check oil pump inlet, pickup tube, and inlet pipe gaskets for suction leaks.
Planning a Top-End Refresh on a 12V71 Non-Turbo
-
Order two head gasket kits (one per bank) and a rocker cover kit matched to your cover style.
-
Include blower base/striker plate gaskets, airbox door gaskets, and head-to-manifold gaskets.
-
Add water rail and heat exchanger outlet gaskets for cooling integrity, plus sealants appropriate to each joint.
-
If the front or rear of the engine shows any oil film, add front and rear main seals (consider double-lip or sleeve solutions where surfaces are worn).
-
For marine boats, pick up raw water pump mounting, plate, and in/outlet gaskets; if your installation uses a flywheel-driven seawater pump, include that interface gasket too.
-
Finish with a can of engine enamel to spot new leaks easily after the job.
Bottom line: Whether you’re chasing a small seep at the airbox door or planning a full, bank-by-bank reseal, using the right 12V71-specific gaskets, seals, and sealants—and installing them with the practices above—will keep your Detroit running clean and dry, with strong scavenging, steady temperatures, and the reliability these engines are known for.


